Hello friends!
I see that almost a month has gone by since I posted last... and I told myself to sift through my photos and get some posted, so you can see that I have done a FEW things this summer at least! lol
Pajama pants for Ben. He's my only boy (well, he's 20, not really a boy anymore :) and it can be hard to find things that I can make him. But when we were in the fabric store looking for makeup bag fabric for the girls, he found this Batman flannel and was lingering just long enough... I asked if he wanted pjs and he said GREAT! He's a big comic book guy, and am I glad I can still make things he likes once in a while!

Make up bag for Holly. Day of the Dead is virtually unheard of back in Ontario, and Holly just loved this DOD fabric. Though I am not a skulls fan, I do like the vibrancy of this.

This next bunch of photos is of scarves I have been working on- dyeing- over the past couple of months. My sisters and I each chose a half dozen or so and I put in the order, since I am the one interested in playing in this arena!
We ordered a wide variety between us and it was a lot of fun to see how the different silk blends took the colours. I call them dyes, I actually used Dye-Na-Flo silk paint.
I also got to experiment a little with colour, making custom colours from what was available in the jars. I took a one day crash course on colour theory with Heather Thomas here in Denver a couple of years back and though I know I still have a LOT to learn, that class gave me a good foundation in starting to understand it all. I also used my Color Tool to help me get the colours I was looking for.
Heather is one of the co-authors of "Fabric Embellishing: The Basics and Beyond", has a new book of her own coming out about colour theory soon, and is also an extremely talented machine quilter. She has been writing a series of articles this year for Quilting Arts magazine, you should check it out!
Here is Heather's web site: http://www.wildheatherdesigns.com/
I also developed my love for dyeing these scarves from a class I took with Heather :)
She is a multi-talented lady and a fabulous teacher! If you ever get the chance to take a class with her- JUMP!!!
This first scarf is one I made for myself before our trip to Sweden and Denmark in June. The scarf came with the daisies on it- I just painted the centers yellow and tried to paint black in between, which was mostly successful... the flowers are velvet but the part of the scarf in between them is a very fine mesh and though the dye looks black here, when it was dry, it's more gray than black. But okay. I don't have the rest of mine done yet, but I will post them when I do.

This was a 90" long chiffon scarf that I sewed gathering stitches into to make a shorter, ruffly scarf. This one went to my daughter Holly, when she was here for her visit.

I wish I could tell you what each scarf was, fabric-wise. Most of them are silk or a silk blend, but they were all different weights and had different hands to them. This first bunch is for Becky, who likes neutrals and wanted a variety to match patterned shirts. I am still working on the photography part, some of the photos don't do the colours justice.
Chocolate brown

Champagne, on a pre-patterned scarf

A ruffled pewter

Mossy green on a pre-patterned scarf

Dark red- LOVE this colour

Silver stamping on a black scarf- there are a few kinds that are available in black blanks. Turns out that the stamp ink I used wasn't permanent and I ended up re-doing this one with silver acrylic paint mixed with textile medium. It looks nice, but makes the scarf a little stiffer than I like.

And for Sandy, who wears a lot of black top and bottom, and accessorizes with scarves and jewelry-
Champagne

Horizontal stripes- red on one side and black on the other, and they kind of bled towards the center, which turned out very cool!

Ruffled baby pink

Jewel-toned- and it looks a lot lighter here than it actually dried in front of me
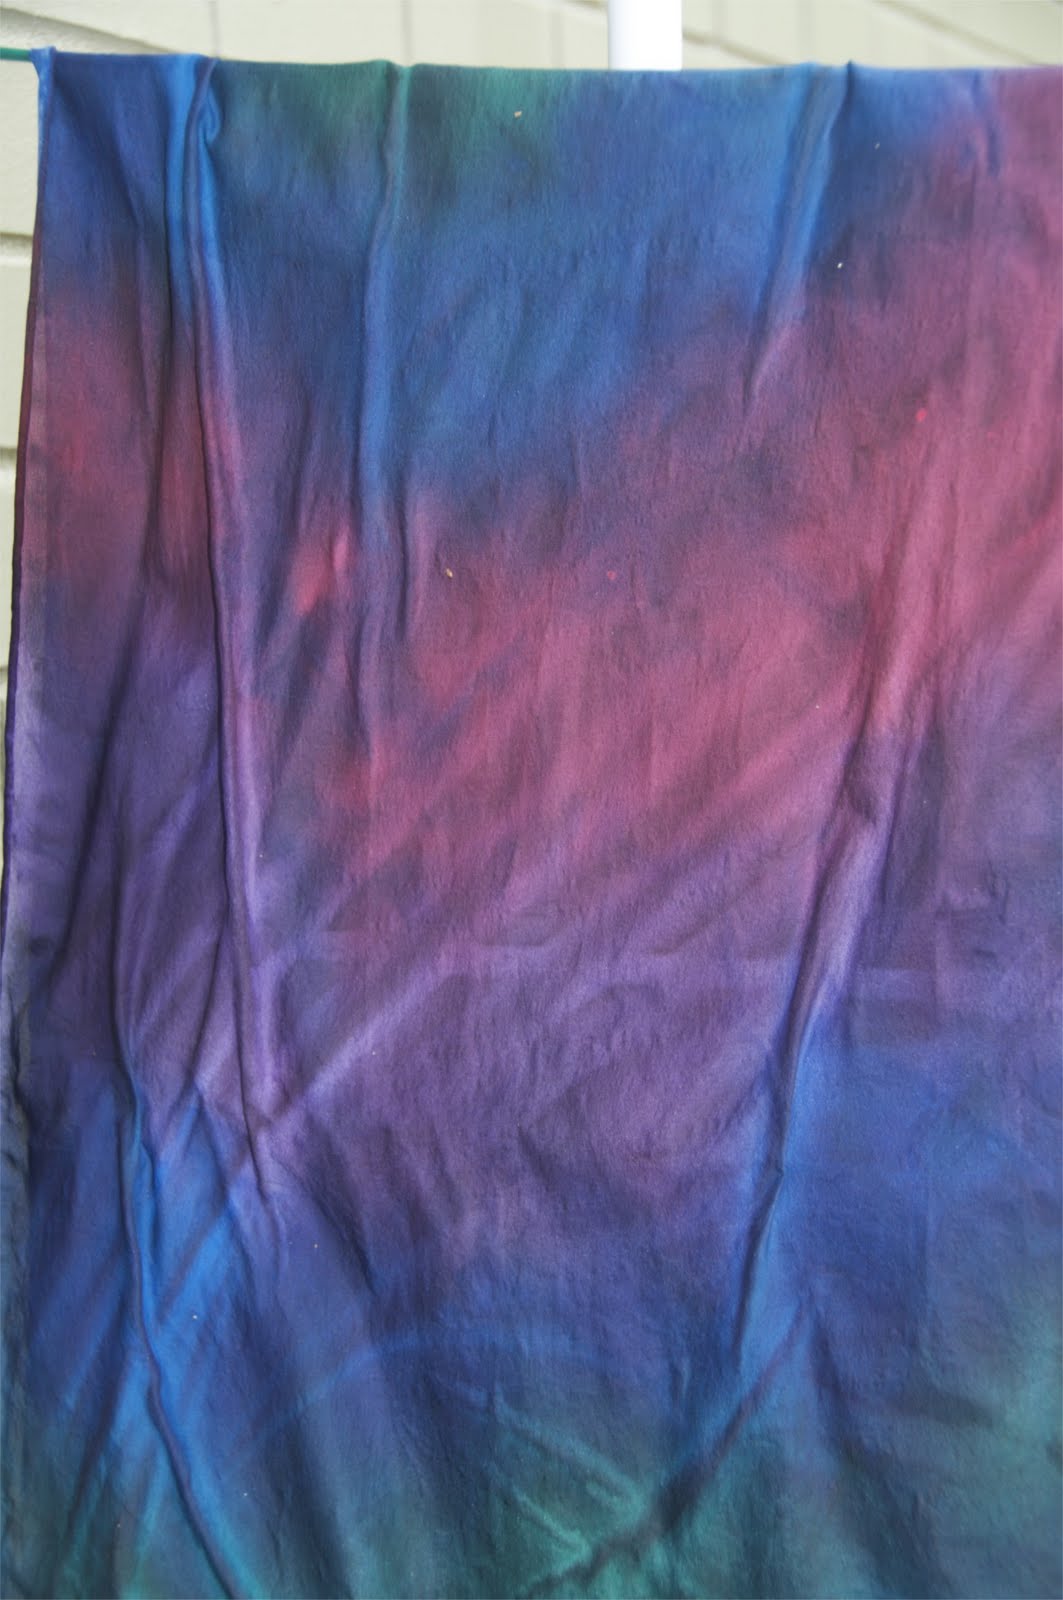
The only 100% cotton one. This just soaked up the dyes and though it looks similar to the one above, it dried to look almost like worn denim. I had some really light pink in it, but because I dried it outside hanging, the darker colours ran over and into the light ones and that was that... lesson learned!

I learned a lot doing these, and had a LOT of fun. I enjoyed it most when I could do it outside, they dry faster and I could add more dye if I needed to to get the results I was looking for. None of them turned out exactly the way I originally thought they would, but most of them are better! The best thing about this kind of project for me is the unpredictability of the end product- drying lines, the colours running into each other, the difference in the concentration of colour, I just love it all. I get permission to have fun and not worry about perfect results.
You should try this!